Beauty, cleaning, Herbal Remedies, homemade, make your own, recipes, simple living

Home made Face Wipes, Antibacterial Wipes

Face wipes, image from The Art of Natural Cleaning (reproduced with permission)

My daughter has requested I make these wipes again. You can use them as Baby wipes or we have been using them as face wipes , they leave your skin nice and soft. I used to use commercial baby wipes as a makeup remover, however the wipes went into landfill and they were full of ingredients I didn’t recognise, so they became one of the first items I stopped buying when I started moving back to simple. I wish I had known about these wipes all those years ago when my daughter was a baby.

This recipe is from Rebecca Sullivan’s book The Art of Natural Cleaning, a great book full of simple recipes. These wipes are so easy to make and include ingredients I recognise. The wipes can go into the council green waste or my home compost bin.

Note : I have been given permission from Rebecca to take a photo from her book and post on here as she did not have an existing link. If you are not familiar with Rebecca’s work, check her out at Granny Skills on facebook or grab her book for loads of other simple back to basics cleaning recipes without chemicals.

Apologies for the quality as I only have my mobile phone camera.

Beauty, cleaning, Garden, gifts, Herbal Remedies, homemade, make your own, simple living, vegan, vegetarian, Zero Waste

Make your own Hand Scrub

I’ve had some spare time today after getting up early and revelling in the cooler weather in my garden. So I have been meandering around online recording some of the make your own recipes that I use and had written down in various places.    I like easy no fuss recipes that I can make from things I already have in my kitchen or laundry.


20180211_153451.jpg

Make your own hand scrub from sugar, salt, coconut oil and essential oils.

There are many hand scrub recipes online, this is a hybrid of few. Here’s a photo of the second batch I made recently. I love how it leaves my gardening hands feeling soft.

Gather together:

* 1 cup of sugar (raw, white whatever grainy sugar you have in you cupboard )
* 1 cup of big grain salt (rock, sea salt, table salt will work just not as well )
* 1/2 cup coconut oil or olive oil
* 5 drops of essential oil of your choice. make sure it is an essential oil and not a fragrant one.

I used tea tree for it’s antibacterial properties as I tend to garden without gloves and get lots of little cuts on my hands.

Here’s the how to:

* The coconut oil needs to be liquid, so melt if needed.

* Mix together the salt and sugar, pour the oil over the top, mix to ensure coated, add the esential oils,mix thoroughly to evenly distribute the essential oil.

Spoon into a scrub container of your choice, label and keep where you will use it. Make sure you provide a spoon or popstick to scoop out the scrub into your hands.

I keep mine in a old salsa jar which has a nice wide top which makes it easy for scooping out.

Simple to make and it works. This would make a great gift for any keen gardener or anyone who works with their hands

Enjoy

Kym

Beauty, homemade, make your own, simple living, Zero Waste

Making your own beauty products

26908078_2469256526632200_3905203315829034165_n

Making your own beauty products. Really easy and quick to make. Today I made Lotion Bars and Non-petroleum jelly.

Non-petroleum jelly is what you can see cooling in the jar.  It has the same consistency as petroleum jelly and you can use it in the same way.  Just no nasties in making it or getting on your skin

I will make lip gloss later from it, adding coconut oil and some beetroot powder which I found at Moana Natural Health & Organics. You could also add cocoa powder for a brown gloss. Both beetroot and cocoa powder can also be used on your face as eye makeup or blush. I will pop the lip balm in the little pot with the blue flower, which was an op shop score. Love op shopping!   You can also pour it into old cleaned out lip balm sticks or lipstick cases.
Finally also got around to making some more Lotion Bars. Gave some as Xmas presents to my family and I have just a tiny bit left.
I made mine in my glass jug, over pot boiling water on the stove top, made it easier to pour into moulds/jar.

I used an old plastic takeaway container, you can use ice-cube trays, I think though that they will be a bit hard to clean.   Last time I made the lotion bars, I used an old cardboard milk container. Mine are in the fridge cooling down before I can cut them into bars.

These recipes, I hope you can read them in the photo, are from Little House Living. She has some other amazing beauty recipes as well as household cleaning and medicinal recipes. Be sure to go and have a look.

For those that live in Southern Adelaide, the Shea butter I bought from Suntralis Foods at Lonsdale; coconut oil I buy in big jars from Seaford Drakes Foodland and also use it in cooking, beeswax you can get from Adelaide Bee Sanctuary, I’ve been told you can get it from Bunnings Noarlunga, must admit I’ve not seen it there.  I got my last lot of beeswax from a friend who has a beekeeper friend.  I also used the beeswax for making Beeswax wraps with my Girl Guides.  Think I have a post for those.

I don’t add essential oils to either of these recipes,  as I prefer it unscented.
One of my friends uses the lotion bar as lip balm, I love it on my arms and neck. They are both great for rough summer heels.

About an hour later :   here are the photos of the hardened lotion bar,  and on the right, cut up they are good to go.   One little bar lasts for quite a while. You basically pop it in your hand and glide it over your skin, rub onto your lips, or wherever.   Great for working hands too, my skin loves this lotion bar after a day in the garden.

I now only have a few store bought moisturisers left, that have been previously given to me as presents. I can’t stand to throw them out, just seems too wasteful.  So once they are gone, the packaging goes into landfill, unless I can find a local Teracycle to take the empty containers to, these bars will be what I use.   I like making my own products, it is very satisfying, it reduces the waste coming into my home and I know what goes into it and then onto my skin..

I know some people just use olive oil as their moisturiser, I find that a bit too oily in summer particularly on days like today 41 degrees Celsius.  Hot northerly breeze, just like standing in front of an open fan force oven.    However,  olive oil is nice in winter.

I also like the idea of having less products in the house and ones that can have multiple uses. Like cornflour which I use in making deodorant, which as a side note, I do have to say is working a treat on this very HOT South Australian day.  No pong, and I have not had to replace it yet, however my old roll on deodorant I would have had to have reapplied multiple times.  Definitely worth making.

Note:  You do need to keep these Lotion bars in a cool place especially on a warm day, I have added a bit more Shea butter to this mix today, as it has a higher melt point.

Give making your own products a go.  These are a simple first project as you start to let go, move towards a simple life; reducing chemicals on your skin; reducing plastic and waste, and gaining satisfaction from creating something yourself.  Enjoy

Beauty, deodorant, Herbal Remedies, homemade, make your own, simple living, vegan, vegetarian, Zero Waste

Deodorant paste: Make your own

18723208_278303692633672_6812375089930043392_n

I have been making my own geranium oil deodorant paste again since about June 2017. I used to make a different version many years ago, pre child so over 20 years. I have just made another batch this morning as I had run out and went back to using an aluminium free deodorant I had in my drawer.    Well, let me tell you, it did not work with this hot weather we are having, and I know my homemade deodorant does. Nothing like being given a reason to get motivated. Seriously it took less than 5 minutes and I don’t have to throw away the container when I run out.  Simple as heading to the pantry and remake.

The recipe I use is based on articles I have read which are all very similar and easily found on the net.  TreadingMyOwnPath has recently come up with a Bicarb Free Deodorant recipe if you find you cannot use bicarb, as it can irritate the skin for some people.

If you live south of Adelaide, you can purchase bulk bicarb,  cornflour (and Shea Butter, which I use to make my own lotion bars, see separate post for that) at Suntralis in Lonsdale, as well many other things like flours, lentils, dried fruits and beans.     You can also access bulk products at Moana Health Store.   Both stores are more than happy for you to take your on containers/bags for refilling. That way you do not have any packaging to recycle. Zero waste.

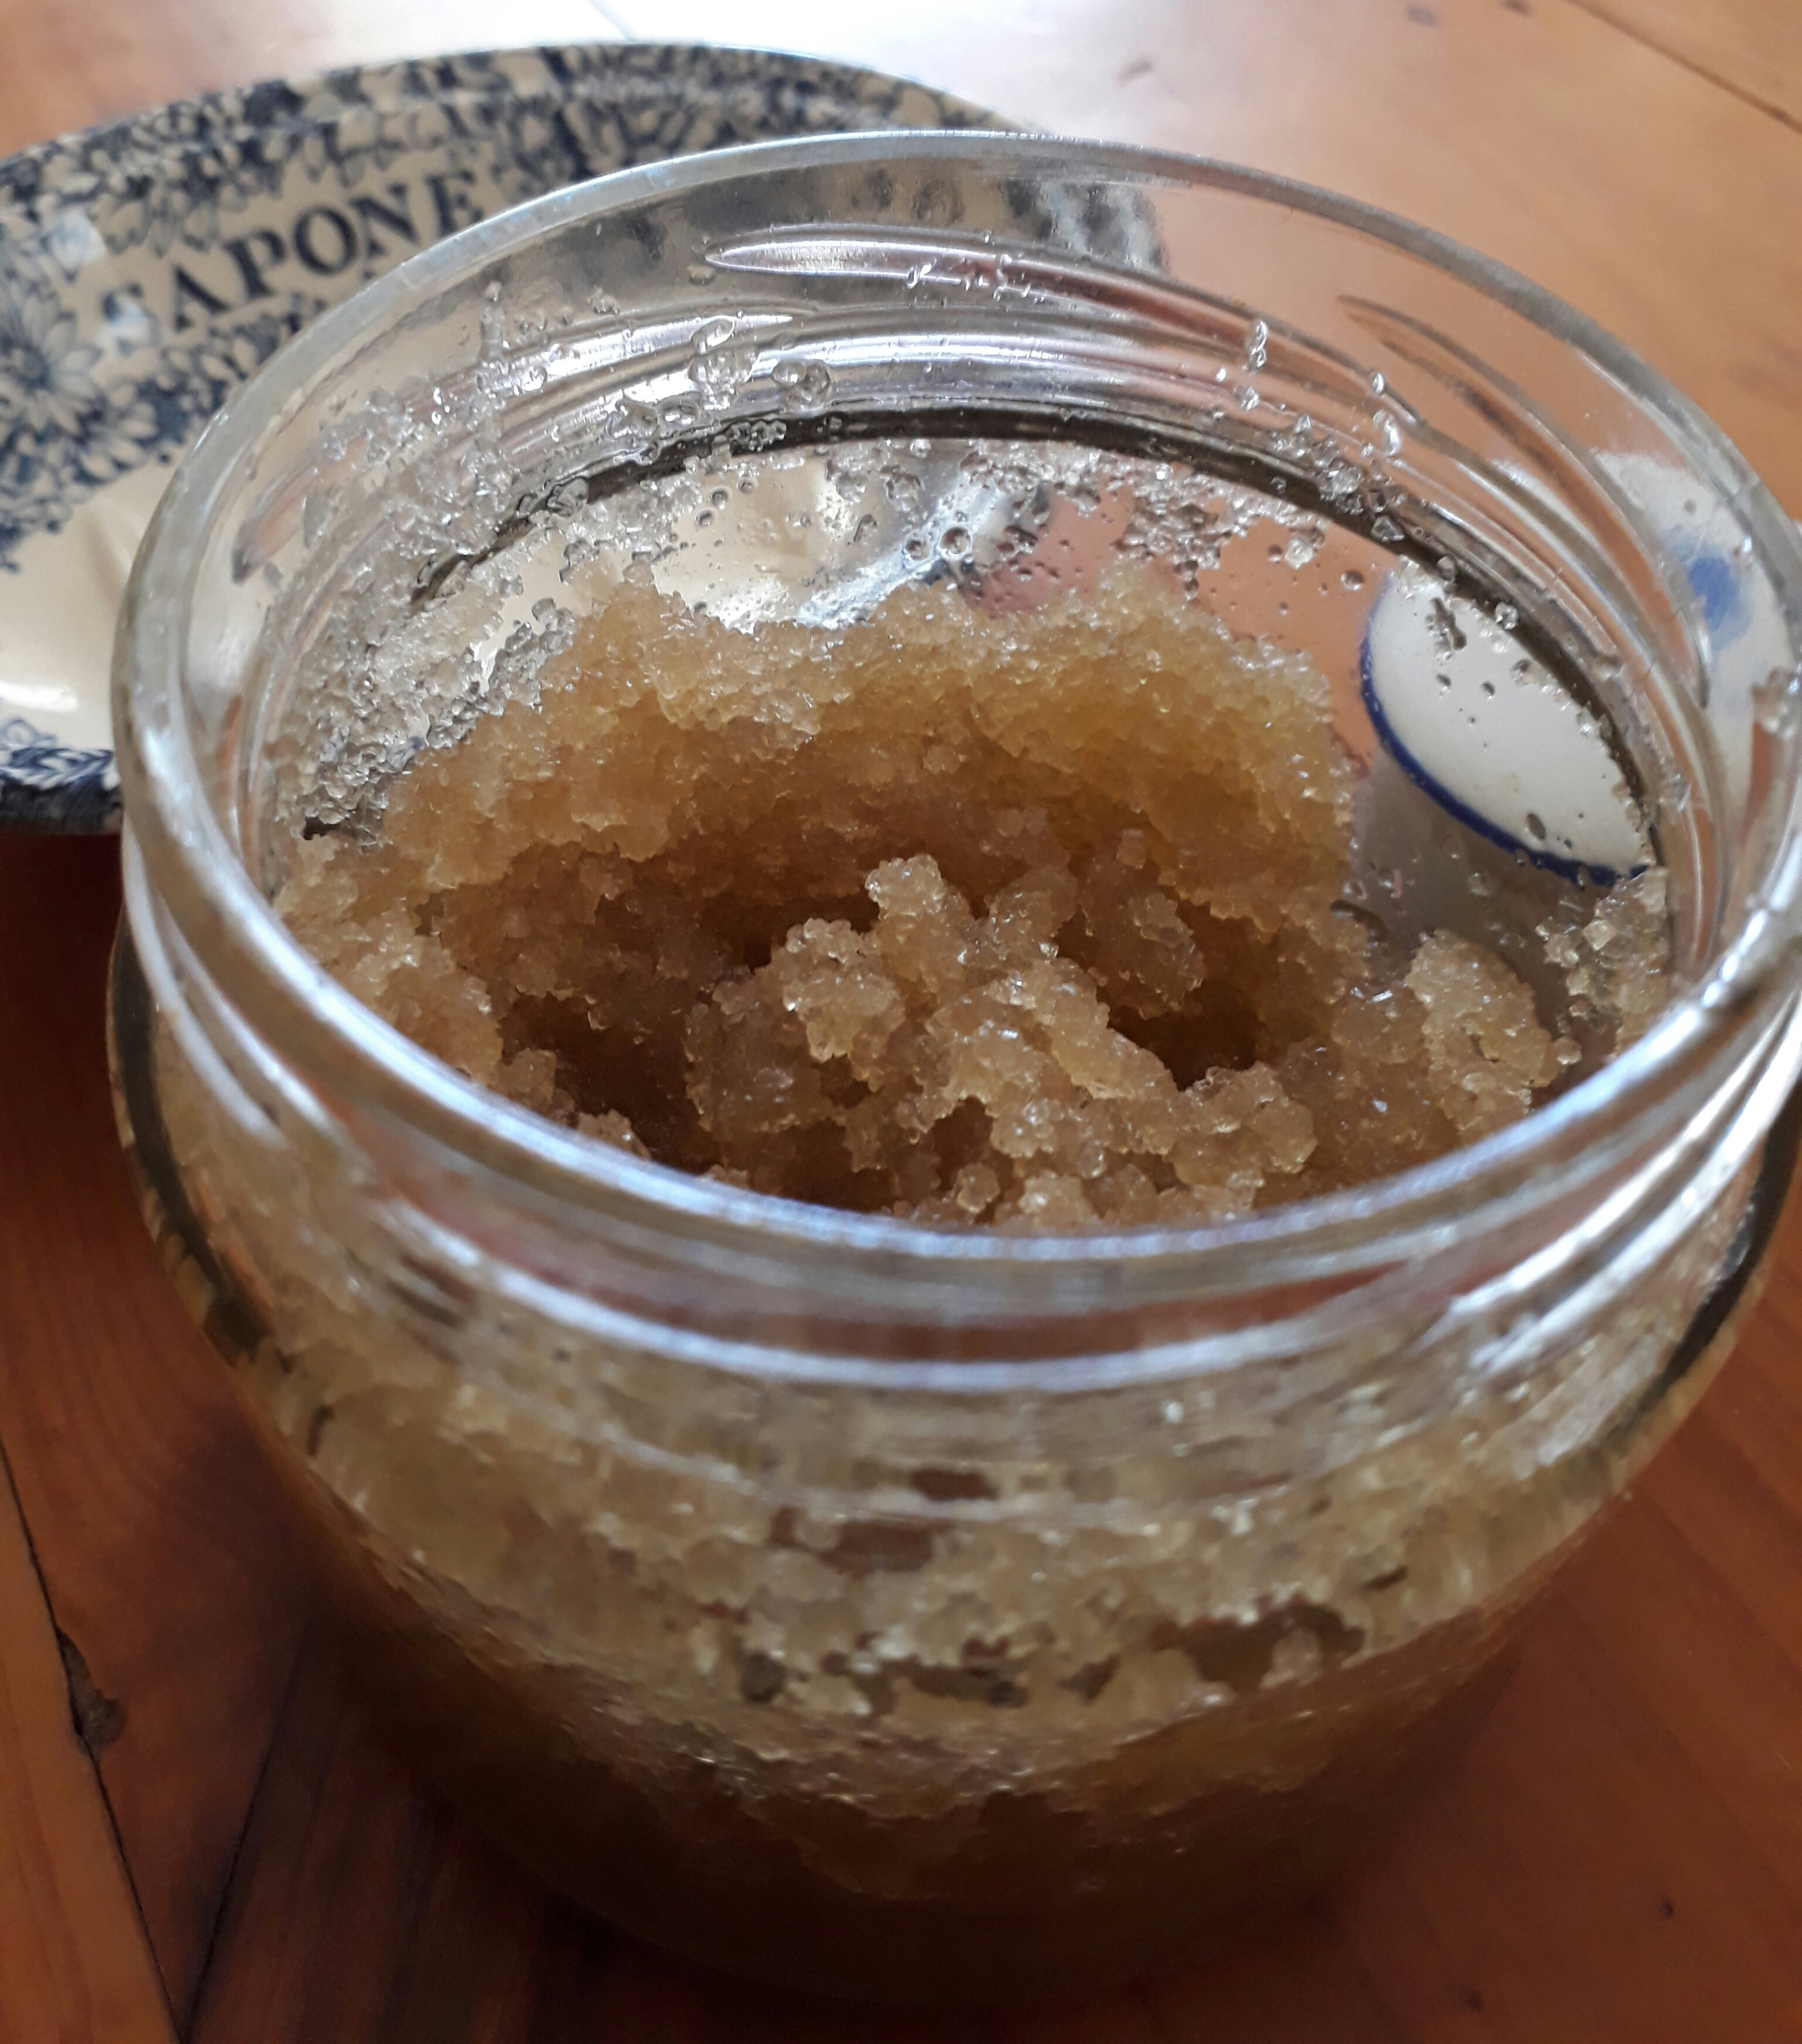
The version of deodorant paste I use contains bicarb and is very simple to make

1 Tablespoon bicarb soda

4 Tablespoons cornflour or arrowroot

2-3 tablespoons coconut oil (You may need to melt the coconut oil if it’s a little bit solid to help mix)

1-2 drops of geranium essential oil or oil of your choice

Mix all ingredients together and put in a couple of drops of essential oil of your choice. Place in a small glass jar, and apply a small amount, about the size of a pea, rub into underarm.

When it’s a warm day, you can keep it in the fridge, however I find that keeping it in the bathroom is fine.

Until your body adjusts, you may need to apply later in the day, particularly in summer. I take mine to work just in case I need to refresh. (keep the lid screwed on tight especially in summer) You may need to remix in the jar occasionally. I keep a popstick handy for this and also for getting a small amount out each time I need to apply.

I use geranium oil (this link has the important health information so make sure you check it out and make sure it is safe for you) , as it is said to have deodorant qualities, astringent, good for stress, reduce inflammation and irritation.  (Note it is not recommended if you are pregnant or breastfeeding, in fact, many essential oils are not recommended ).    It is what I used all those years ago, and it works for me.    Others use tea tree oil, however I am not fond of that aroma.     If this recipe doesn’t work for you,  there are plenty of alternatives that mean you are not throwing away containers when you have finished your deodorant.     Please ensure you follow the link and find out about essential oils and using it safely.

You may need to melt the coconut oil if it’s a little bit solid, however mine was liquid as it is a tad warm today…going for a top of 39 degrees C and I am yet to put on the air conditioner.

So have a go at making your own, and giving this deodorant a try. If you use one of the commercial brands of deodorant paste then you are pretty much already there. This saves you money, you are reusing jars and no waste for landfill or the recycling bin.

28.4.18 Going to try a batch with tea tree oil for my husband who wants to give this a go, he is finding shop deodorant is irritating his skin. I will increase the ratio to 1:6 which many of the blog’s I have read recommend, for his first batch as sometimes bicarb can also irritate the skin. might need to do a bit of blogger research and check out bloke home made deodorant recipes if this does not work for him.

food, make your own, simple living, Zero Waste

making Beeswax Wraps

c8266dbc8a16be33534f820fb6455cde
First beeswax wrap, just grate the beeswax, add the coconut oil, fold and put in the sandwich press.  You can also fold and pop it in the oven. 

Making beeswax wraps with my Girl Guide groups tomorrow night. Part of the Enviro Badge they are working on, also ties in to one of the Girl Guide Laws that they promise to keep when they get enrolled : Making choices for a better world.

The wraps are really easy to make:

Heat up your flat plate sandwich maker

Cut out a 20 x 20cm circle of cotton material

Into the centre add 5-10 g beeswax (about 1 tbspn) and  1/4 tspn coconut oil ,

Fold a couple of times making a parcel

Place in sandwich maker, leave for 10-15 secs..it will be HOT,

Lift off plate with tongs and hang on line for 1 min to cool.


Hey presto, 1 beeswax wrap to use in place of gladwrap. it will last about a year whereas gladwrap is single use and you can’t recycle so it goes in to landfill.

To wash your wrap, wipe or gently rinse with warm soapy water not Hot. if it needs a spruce up, simply add a bit more beeswax and melt.
You can turn them into sandwich pockets too.